Freut mich sehr, wenn ich etwas geben kann, nachdem ich lange Zeit nur genommen habe. ![]()
Modale von Bootstrap zur Flexbox und von table zu grid
-
-
So richtig gut wird es, wenn man das Fenster auch noch mit der Escape-Taste schließen könnte.


-
m.scatello Tja, warum eigentlich nicht? Vielleicht gibt es User, die diese Funktion nutzen möchten, ich habe sie eingebaut.
HTML
Alles anzeigen<!DOCTYPE html> <html lang="en"> <head> <meta charset="UTF-8"> <meta http-equiv="X-UA-Compatible" content="IE=edge"> <meta name="viewport" content="width=device-width, initial-scale=1.0"> <title>Modal with user-friendly back button</title> <style> /* Global styles to reset margin, padding, and box-sizing */ html, body { margin: 0; padding: 0; box-sizing: border-box; } /* Body styles with default font and size */ body { font-size: 1rem; line-height: 140%; font-family: sans-serif; } /* Styles for the modal and modal body, centered using flexbox */ #modal, .modal-body { display: flex; justify-content: center; align-items: center; } /* Styles for the main content area, flex column layout with some padding */ main { display: flex; flex-direction: column; min-height: 300vh; align-items: start; padding: 5vw; background-color: aliceblue; } /* Styles for the modal overlay */ #modal { position: fixed; top: 0; left: 0; width: 100%; height: 100vh; background-color: rgba(0, 0, 0, .8); opacity: 0; transition: opacity .7s, transform .1s 1s; transform: translateX(-100%); } /* Styles for the active state of the modal, bringing it into view */ #modal.active { transform: translateX(0); opacity: 1; transition: opacity .7s; } /* Styles for the modal body content, with padding and rounded corners */ .modal-body { margin: 0 5vw; padding: 10vw; background-color: #fff; flex-direction: column; border-radius: 8px; } /* Styles for the open and close buttons, with some common styling */ #openModal, #closeModal { color: #fff; background-color: darkgreen; border: none; margin: 1rem auto; padding: 1rem; border-radius: 8px; } /* Styles for the close button, with a different background color */ #closeModal { background-color: palevioletred; } /* Styles for a text element with bold font and specific color */ .better { font-weight: bold; color: firebrick; margin-top: 1.5rem; text-align: center; } </style> </head> <body> <main> <p>Duis nisi et commodo nostrud duis veniam ipsum. Mollit tempor deserunt labore cupidatat aute deserunt adipisicing eu ad et cillum sit officia sit. In do aliquip irure nostrud labore nisi deserunt quis aliquip velit officia in deserunt ea cillum. Nulla excepteur Lorem enim voluptate mollit nulla consequat exercitation. Cillum adipisicing aliquip est officia occaecat sint proident occaecat veniam enim aliquip voluptate excepteur. Cillum minim incididunt labore deserunt eiusmod dolore ad ex cupidatat incididunt culpa pariatur ut in occaecat. Ullamco do ipsum dolore esse consequat culpa culpa incididunt sit reprehenderit deserunt exercitation dolor mollit consequat. Laborum ipsum occaecat esse sint est id aute occaecat sit sit eu.</p> <button id="openModal">OPEN MODAL</button> <p>Sit adipisicing consequat aute ea proident do culpa nostrud duis laborum. Amet ex laboris proident mollit fugiat laborum cupidatat. Exercitation amet elit qui elit velit nisi ex voluptate amet consequat exercitation. Esse esse magna Lorem nulla sit veniam reprehenderit consectetur. Fugiat qui magna exercitation. Est qui ex fugiat ea velit et nulla culpa culpa nulla nulla ut fugiat. Nostrud occaecat sunt tempor exercitation mollit est nulla nulla aute pariatur reprehenderit elit. Amet non quis fugiat cillum labore labore exercitation duis ad sit culpa esse non.</p> <p>Cillum nisi excepteur ex proident cillum anim quis amet ullamco nisi. Dolore eiusmod exercitation minim minim aliqua non pariatur nulla anim minim cillum sunt amet irure mollit. Ut cillum minim do qui anim aliquip commodo ex tempor quis excepteur culpa culpa id id. Anim aute enim cillum mollit laborum eu deserunt velit aliqua sint id consequat culpa nulla. Lorem aliqua deserunt irure irure ut. Ex veniam cillum esse eu eu mollit. Consectetur pariatur dolor ad.</p> <p>Consectetur commodo esse veniam. Lorem et dolor dolore minim aute et commodo. Mollit aute irure dolor dolore ut pariatur nulla tempor elit dolore. Enim aute ea aliquip consectetur minim adipisicing do nostrud ut aliqua minim magna laborum proident culpa.</p> <p>Magna Lorem sint veniam sit quis culpa id magna laborum deserunt incididunt occaecat magna ad. Incididunt velit aliquip irure nostrud fugiat ut exercitation anim excepteur. Cillum ex consequat sunt nulla voluptate ea culpa ut non mollit adipisicing non velit. Elit minim veniam aliquip id reprehenderit sunt et est est dolore. Veniam incididunt officia veniam labore excepteur non fugiat exercitation. Officia nisi reprehenderit ut laborum ut officia est nisi tempor non reprehenderit.</p> <p>Dolore irure et nisi sit velit consectetur reprehenderit dolor in reprehenderit tempor excepteur. Pariatur adipisicing excepteur culpa eiusmod non amet esse mollit aliqua sunt. Reprehenderit ad duis magna in pariatur consequat do ullamco eu esse. Eiusmod mollit mollit culpa culpa commodo laboris fugiat elit cupidatat dolor aliqua nisi elit. Aliquip dolore duis ad eu in id et commodo sint deserunt. Ea fugiat nulla deserunt fugiat anim consequat. Dolore exercitation sit in est sit incididunt Lorem deserunt eiusmod. Cupidatat culpa minim dolor culpa duis reprehenderit ut ea officia adipisicing culpa mollit.</p> <p>Quis nostrud Lorem labore tempor sit occaecat id amet quis irure cillum. Id aliquip deserunt reprehenderit aliqua aute ullamco ipsum tempor non sunt nulla mollit eu. Et est fugiat nulla id culpa. Dolor tempor cupidatat Lorem eiusmod nostrud in. Esse quis incididunt Lorem eiusmod incididunt eu anim et commodo ea reprehenderit officia ea. Tempor eiusmod dolor ea aute irure consequat minim duis dolore nisi excepteur fugiat Lorem ullamco.</p> <p>Nulla voluptate enim mollit non occaecat. Mollit fugiat aliquip voluptate eiusmod nulla. Proident reprehenderit duis proident sunt voluptate eu deserunt dolor esse ex nostrud. Do quis do nostrud incididunt dolore culpa sint sint voluptate eu minim velit.</p> <p>Occaecat mollit sunt veniam esse dolor. Ad ullamco mollit laboris. Consectetur eiusmod deserunt voluptate quis esse consectetur fugiat ut aliquip. Dolore non ipsum sunt Lorem minim elit commodo et exercitation cupidatat occaecat. Minim occaecat ad esse esse.</p> <p>Id proident Lorem ullamco voluptate. Esse aliqua commodo cillum elit minim eiusmod eu sint. Aute qui dolore nostrud sit nulla adipisicing dolor aute excepteur nisi. Irure id ad laboris quis deserunt irure in eiusmod magna Lorem veniam. Magna voluptate cupidatat ipsum dolore aliquip do pariatur labore Lorem sint cupidatat dolore ad eiusmod. Eu ex veniam occaecat ut nisi deserunt in magna culpa dolor consequat excepteur consectetur occaecat. Non non cillum mollit labore.</p> </main> <div id="modal"> <div class="modal-body"> <p>This is the modal.</p> <button id="closeModal">CLOSE MODAL</button> <p class="better">Try to close it with the back button on mobiles!</p> </div> </div> <script> // JavaScript code for handling modal functionality // Get references to DOM elements const modal = document.getElementById('modal'); const openModal = document.getElementById('openModal'); const closeModal = document.getElementById('closeModal'); // Function for closing the modal function closeModalFunction() { // Remove the 'active' class to hide the modal modal.classList.remove('active'); // Go back in the browser history history.go(-1); } // Event listener for opening the modal openModal.addEventListener('click', () => { // Push a new state to the browser history history.pushState(null, null, window.location.pathname); // Add the 'active' class to display the modal modal.classList.add('active'); }); // Event listener for closing the modal closeModal.addEventListener('click', closeModalFunction); // Event listener for closing the modal with the Escape key document.addEventListener('keydown', (event) => { // Check if the Escape key was pressed if (event.key === 'Escape') { closeModalFunction(); } }); // Event listener for clicking on the modal overlay modal.addEventListener('click', (event) => { // Check if the click occurred on the overlay itself if (event.target === modal) { closeModalFunction(); } }); // Event listener for browser history changes (Back button) window.addEventListener('popstate', function (event) { // Remove the 'active' class to hide the modal modal.classList.remove('active'); }, false); </script> </body> </html> -
Da hier kulturbanause.de erwähnt wurde: Für mich sind deren Blog und der Newsletter die besten deutschsprachigen Infoquellen zum modernen Webdesign.
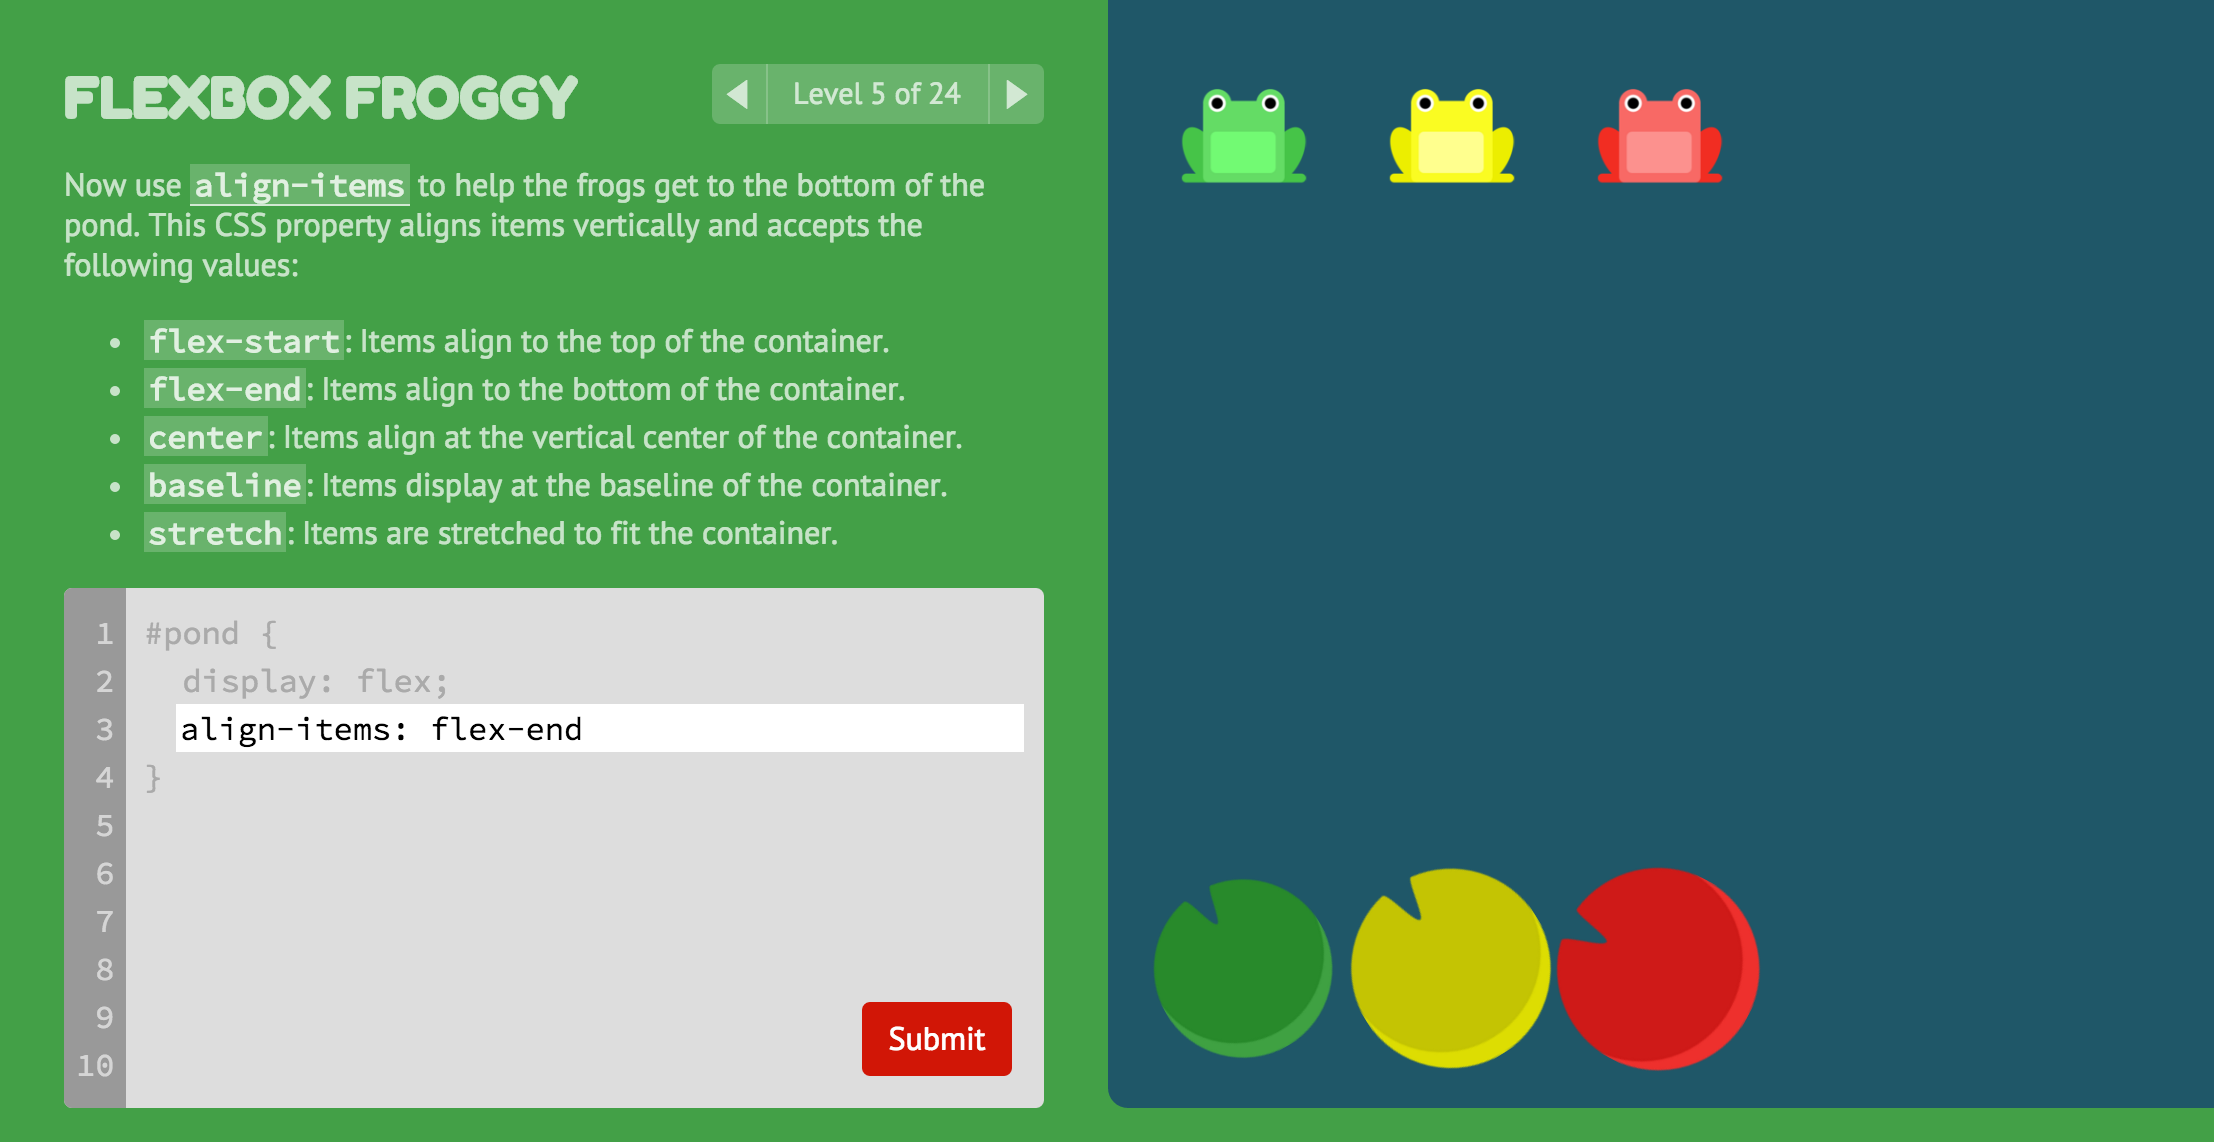
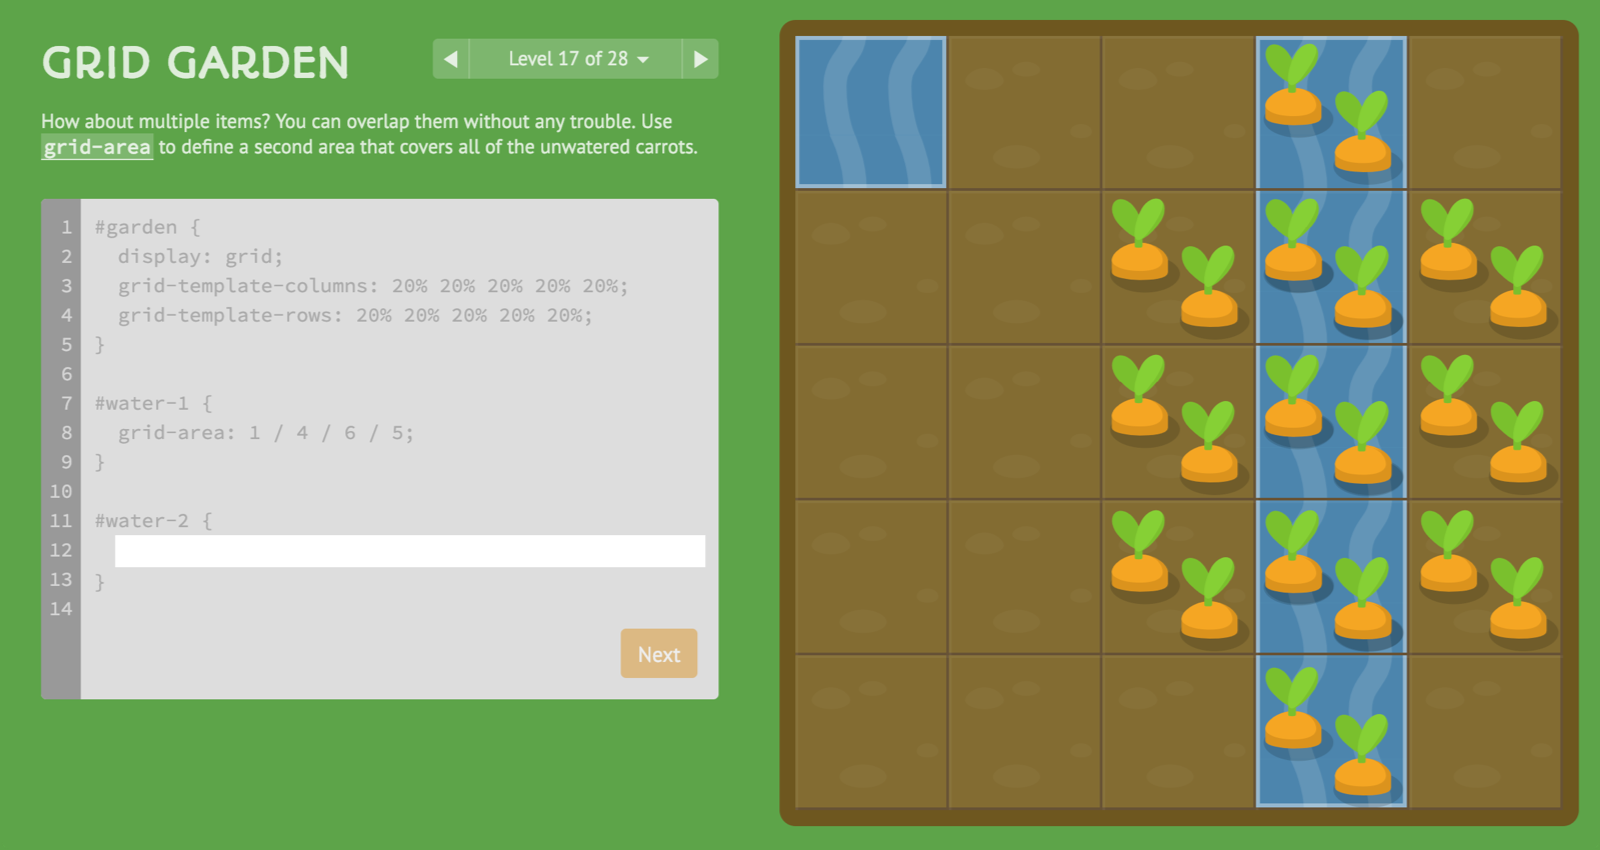
Und da es hier auch um das Erlernen von Flex und Grid geht – über den Newsletter von kulturbanause.de habe ich diese beiden lehrreichen Spiele entdeckt:

 Grid Garden - A game for learning CSS gridHow well can you tend to your carrot garden using CSS grid? In this game, you must water your carrot crops and poison the weeds by mastering CSS grid, a…codepip.com
Bei letzterem muss man sich zwar registrieren, dafür wird das Spiel im letzten Teil eine echte Herausforderung. Ich musste googeln, um komplett durchzukommen. Macht echt Spaß ...
-
Das ist ja alles sehr interessant. Und mit dem back-button das Modal beenden wäre ja auch ein nice-2-have.
Doch wie kann ich in der Mobil Ansicht mein gesamtes Modal lesen?
-
Zitat
Doch wie kann ich in der Mobil Ansicht mein gesamtes Modal lesen?
Wie meinst Du das? Klappt es mit dem Scrolling noch nicht, wenn der Inhalt höher als das Browserfenster wird?
-
Ich hab’ mal fix noch mein Dokument mit heißer Nadel umgestrickt. Das Modal ist ewig lang und lässt sich scrollen.
Nachteil: Ein Modal mit wenig Inhalt würde sich nicht vertikal mehr zentriert in der Seite öffnen. Dazu fällt mir sicher etwas ein, wenn ich wieder Zeit habe.
Euch einen guten Start in die Woche!
Edit: Der Code hat zu viele Zeilen, deshalb im Anhang.
-
Wie meinst Du das? Klappt es mit dem Scrolling noch nicht, wenn der Inhalt höher als das Browserfenster wird?
Ich hab mal ein Filmchen dran gehängt
-
Im wesentlichen funktioniert das Scrolling ja, aber die Details ...
Stell das doch mal online, das hier https://my2.emess62.de ist keine Version mit Scrolling.
-
Hier ist die Bastelstube
-
Ich habe zunächst mal im Seiteninspektor provisorisch den Zeilenabstand kräftig erhöht, damit das Scrolling aktiv wird:
Code.grid-container { display: grid; grid-template-columns: 1fr 3fr 8fr 3fr; gap: 1em; row-gap: 10vh; }Dann für .modal-content die Höhe begrenzt, ebenfalls, damit das Scrolling greift, und die Elemente mit Flex angeordnet:
Code.modal-content { /* hier drüber wie bisher */ height: 70vh; display: flex; flex-direction: column; }Und für .modal-body das Scrollen eingeschaltet durch overflow: auto;
Versuche mal ob dich das weiter bringt.
-
So hatte ich es mir vorgestellt. Hatte auch in dieser Richtung ähnlich experimentiert. Leider kläglich gescheitert.
Vielen Dank!
Jetzt will ich mal sehen was ich in meinem Fall mit nth-of-type anfangen kann-
Ansonsten ist die Lektion Modal ohne Bootstrap erst mal erfolgreich abgeschlossen.
Noch mal vielen Dank!
-
Immer gern! Ich wünsche noch einen schönen Abend!
-
Habs ganz gut hin bekommen Hab nur nicht heraus bekommen wie ich ganz auf Klassen verzichten kann.
CSS
Alles anzeigen.item:nth-of-type(4n + 1){ font-weight: bold; color:blue; } .item:nth-of-type(4n + 2){ font-weight: bold; text-align: left; } .item:nth-of-type(4n + 3){ text-align: left; } .item:nth-of-type(4n + 4){ text-align: right; margin-right: 8px; color:darkorange }Kannst ja morgen mal drüber schauen und mir sagen was ich besser machen kann.
-
Die Klasse "item" kannst Du weg rationalisieren, indem Du den Kindselektor verwendest:
CSS/Selektoren/Kindselektor – SELFHTML-Wiki
Also:
-
Ok das hat geklappt.
Zum Verständnis hab viel gelesen und gesehen, aber eine Klarheit habe ich nicht gefunden.
Unterschied Kindelement nth-child und Kindelemente eines Types nth-of-type.
Wann nehm ich was?
-
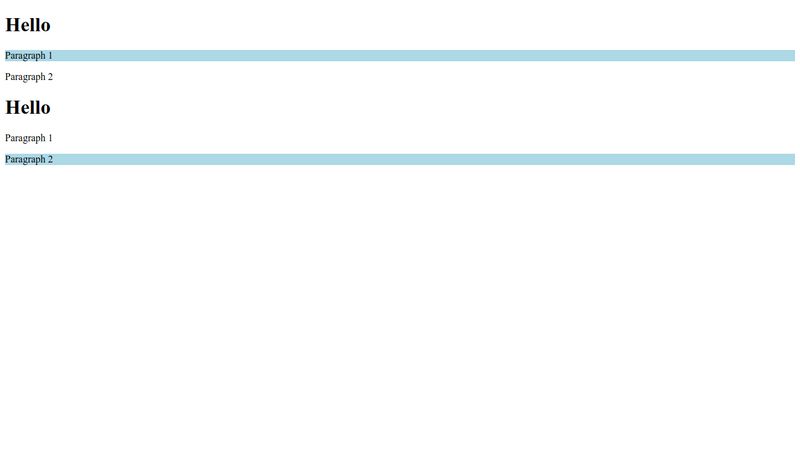
Wenn Du viel gelesen hast, hilft es wahrscheinlich auch nicht, einen weiteren Link zu posten. Häufig hilft ein Beispiel weiter, sieh dir dieses Codepen an:

nth-child nimmt alle Elemente her und prüft das 2-te. Ist es ein p-Element wird es genommen.
Die zweite Regel nimmt von allen Elementen das 2-te und prüft ob es ein h1- Element ist. Da es jedoch ein p-Element ist, passiert gar nichts.
nth-of-type nimmt nur die p-Elemente und nimmt davon das 2-te (die dritte Regel).
In den allermeisten Fälle tut nth-of-type das, was man möchte.
Das ganze ist schon ein wenig undurchsichtig und deshalb habe ich auch früher geschrieben, dass auch Klassen den Vorteil haben, dass es klarer ist, was passiert.
-
Sehr undurchsichtig sogar wenn man es bei codepen testen kann.
Trotzdem war das die bisher beste Erklärung.
Vielen Dank
-
Jetzt mitmachen!
Sie haben noch kein Benutzerkonto auf unserer Seite? Registrieren Sie sich kostenlos und nehmen Sie an unserer Community teil!
